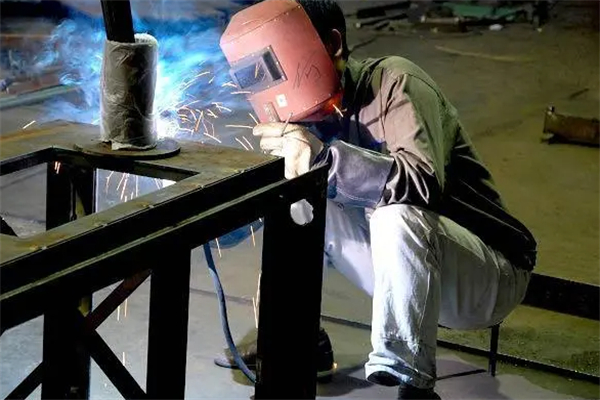
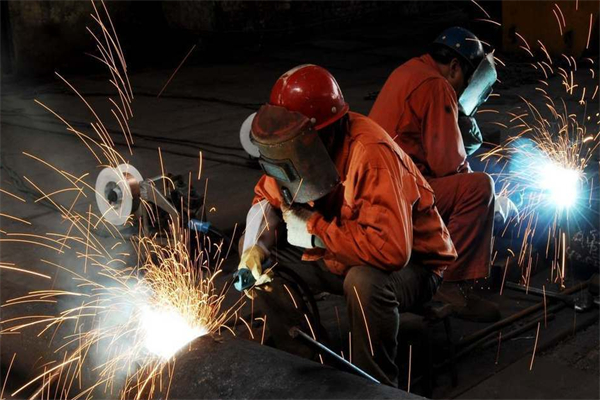
For the welded structure, welded products, welded joints quality requirements are multifaceted, it includes joint performance, organization and other internal requirements, while in the appearance of the shape and size accuracy, weld molding, surface and internal defects can not be, in order to find and solve the problem as soon as possible, often the first macro-analysis, if necessary, and then carry out a detailed micro-analysis.

Macro-analysis of the most important content, that is, defect analysis of welded joints. The main use of metallurgical microscope low tissue analysis method, the internal defects produced by the welded joints through the metallurgical low inspection, with high microstructure analysis to determine the causes of defects, to find out ways to avoid and eliminate, and improve the quality of welded joints.
Through sampling, grinding, etching and making low magnification photography, we can clearly and visually check the macroscopic defects of the welded joints, and combined with the corresponding welding standards, in order to determine whether the welding process, welders, welding structure can meet the relevant requirements for use.

Macro-metallographic advantages
Inspection paradigm is large, wide field of view, inspection method, operation technology and the required inspection equipment is simple, more quickly and comprehensively reflect the quality of the material or product.
Macro-metallographic inspection scope
Steel in the loose, bubbles, shrinkage residues, non-metallic inclusions, segregation, white spots, strong lines and a variety of normal fracture defects.
Macro-metallographic test methods
Acid corrosion test, fracture test, sulfur print test, tower test, etc.